When planting season starts in our Ontario greenhouses, it’s all hands on deck as we get ready for the arrival of new plants that will soon call NatureFresh™ home!
There are many steps involved with bringing young plants into our greenhouses – so we decided to create a step-by-step breakdown of how the planting process works at NatureFresh™.
Let’s dive right in and look at how we introduced 1.6 million Pepper and Tomato plants to our Leamington farm this season!

Step-by-Step: The Planting Process
Step 1: Propagating
This season, planting at our greenhouses in Leamington, ON started in December and lasted until about mid-January. But before we can start the process of planting, our new plants need to be cultivated from seed for about 6 to 7 weeks at a propagation facility!
Plant propagation refers to the initial maturation process of a plant – this process requires a different type of plant care that encourages its initial growth and maturation, which is why it happens in a facility specifically designed for propagation.
During the propagation period, our Growers will visit the propagation facility to check in on our future crop and track its progress – that way, they can make sure the plants arriving at NatureFresh™ are in the healthiest condition possible.
Step 2: Creating the Perfect Home
While plant propagation is underway, our team is hard at work preparing our NatureFresh™ greenhouses for their arrival. This means creating the perfect environment to help them get acclimated to their new surroundings – after all, the smoother the transition, the easier it is on the plants, and the healthier they will be throughout the season!
Every variety of Tomato and Pepper needs a different type of climate to achieve optimal growth – but since we have complete control over the climate inside our greenhouses, we can easily ensure each plant variety gets exactly what it needs to be happy and healthy.
Before new plants arrive, our Growers make careful changes to temperature, irrigation, and humidity levels inside the greenhouses – this way, we are giving our new plants the perfect living conditions right out of the gate!
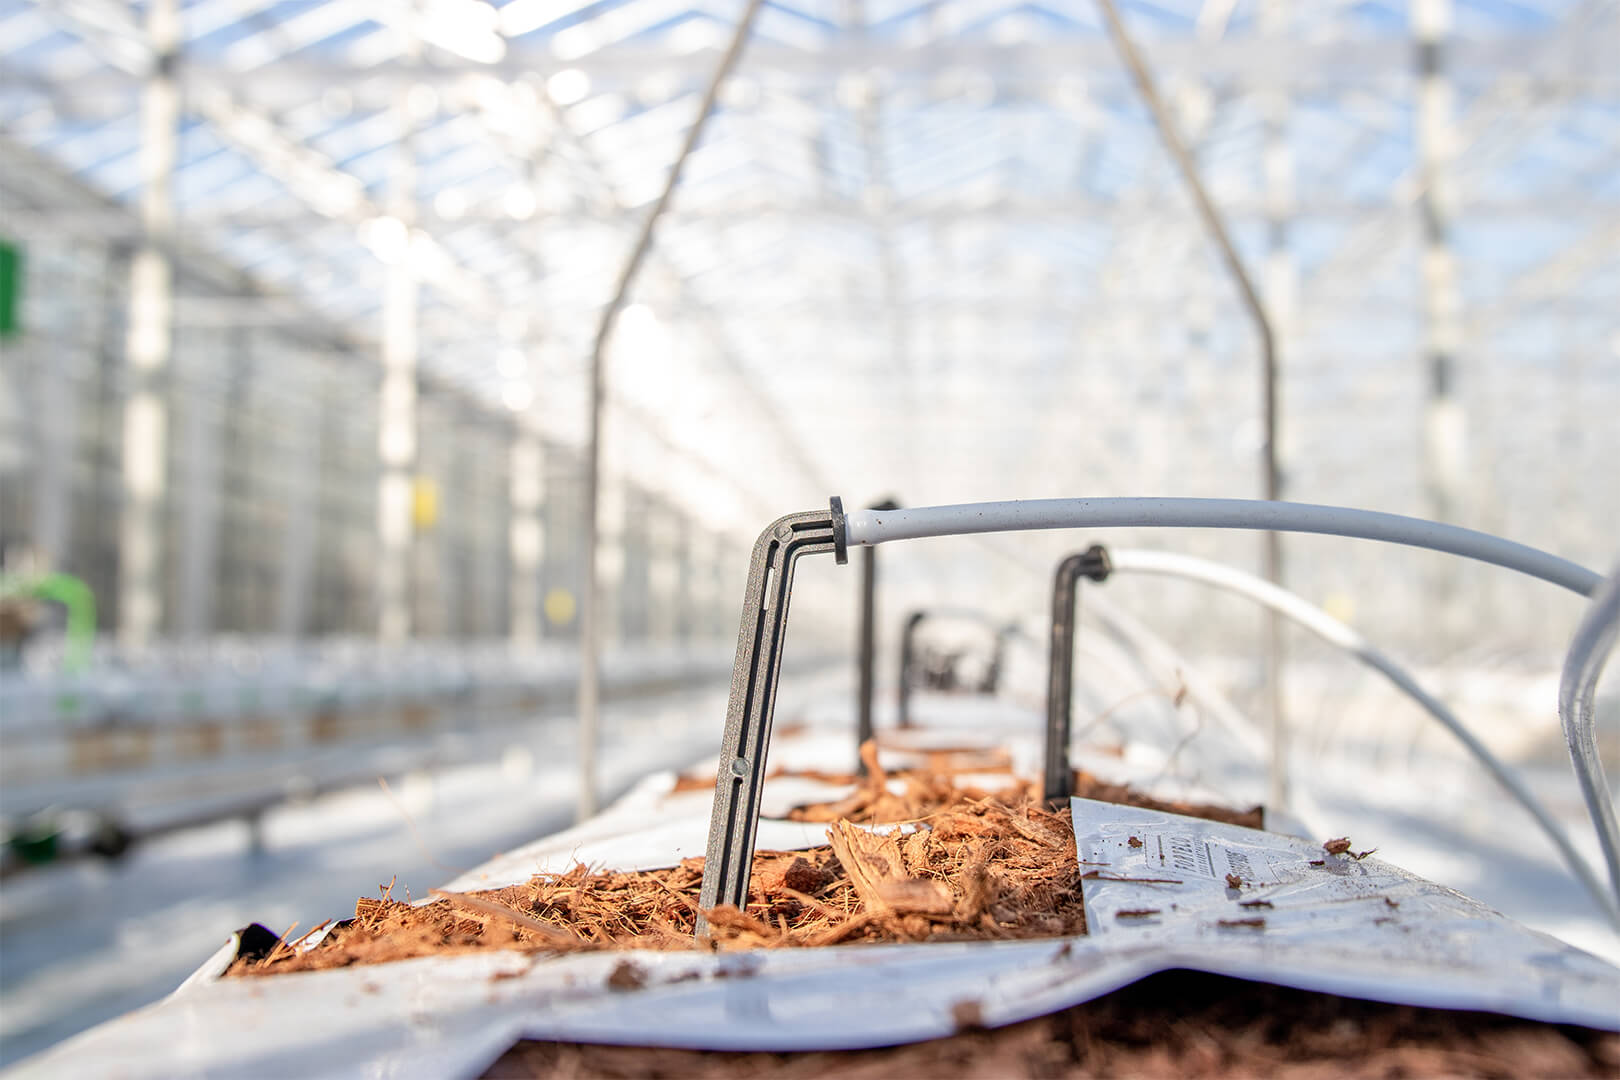
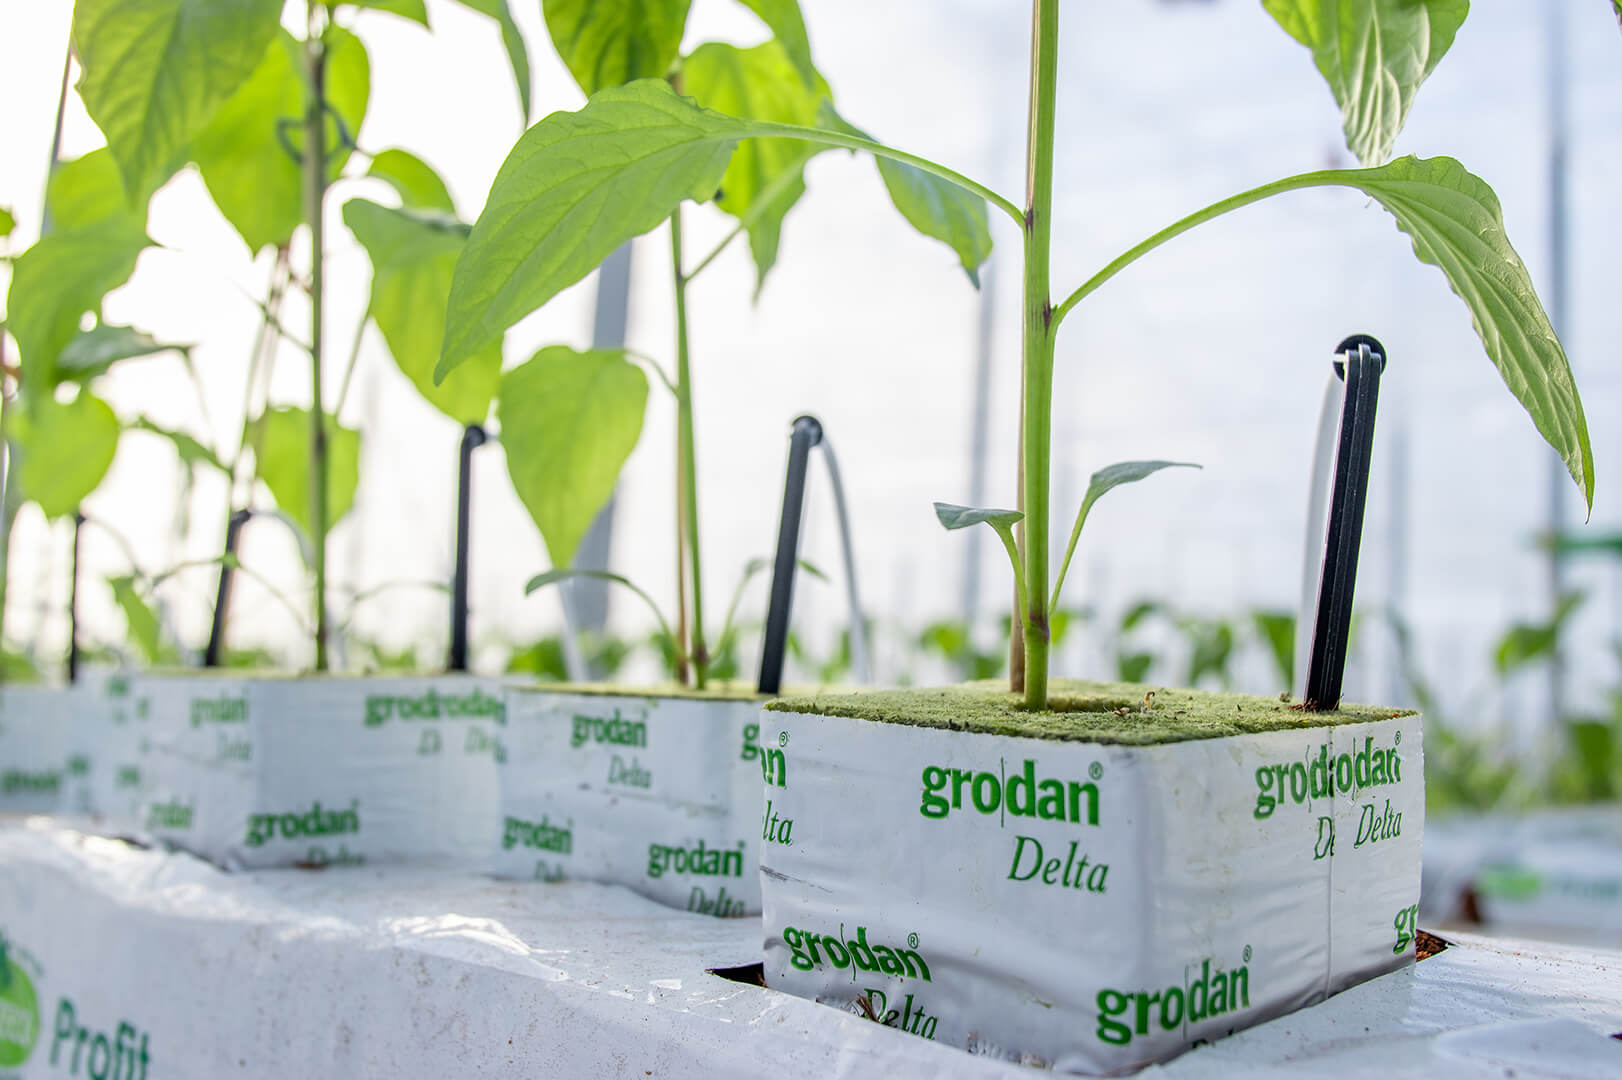
A crucial part of preparing the greenhouse for planting season is positioning compressed coconut fiber blocks along every row in the greenhouse. Coco fiber is the growing medium we use for our plants – it retains and drains nutrient water extremely well, making it a great growing environment for our plants’ roots!
The coco fiber blocks come to us with pre-cut square holes – this is where every baby plant will be placed for the duration of the season. Two to three days before the plants are set to arrive at our farm, our Growers start pumping nutrient water into the coco fiber blocks through our dripper system. This expands the blocks so the coco fiber inside is ready for the plants when they arrive!
Step 3: Unloading Trucks & Testing Plants
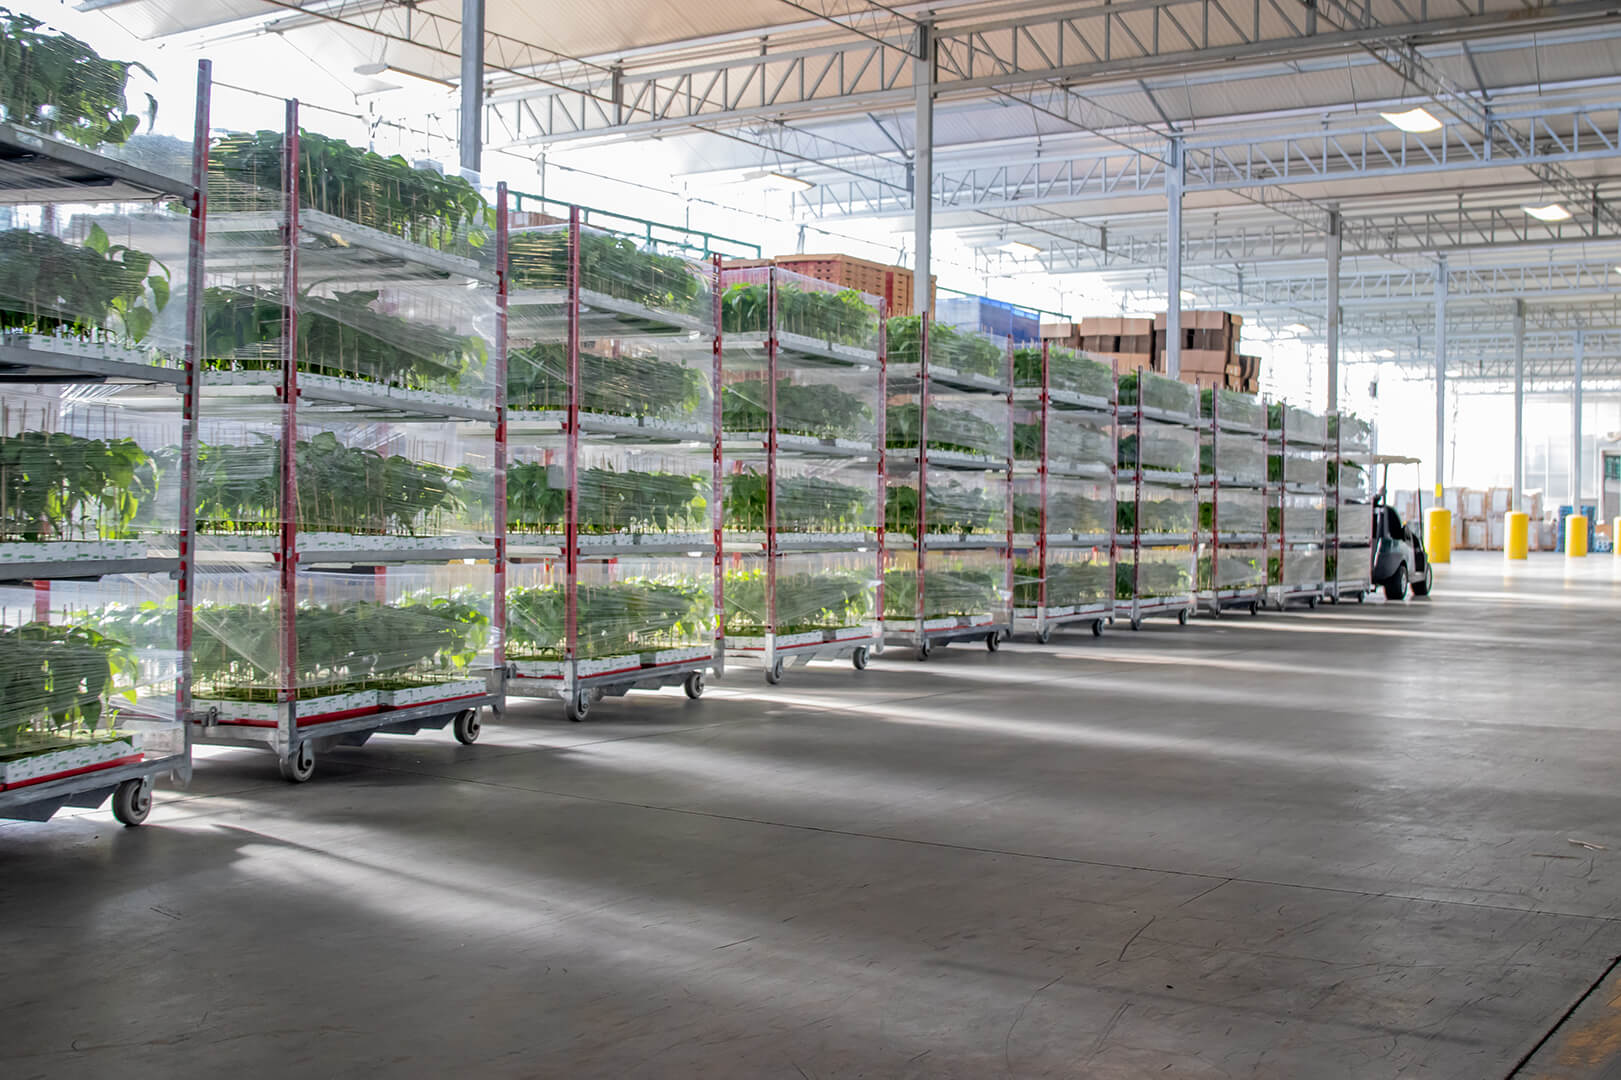
When the propagation process is complete, the new plants are loaded on carts and transported from the propagation facility to our greenhouses. This season, we saw approximately 175 truckloads bring 1.6 million baby plants to our greenhouses from our local propagators!

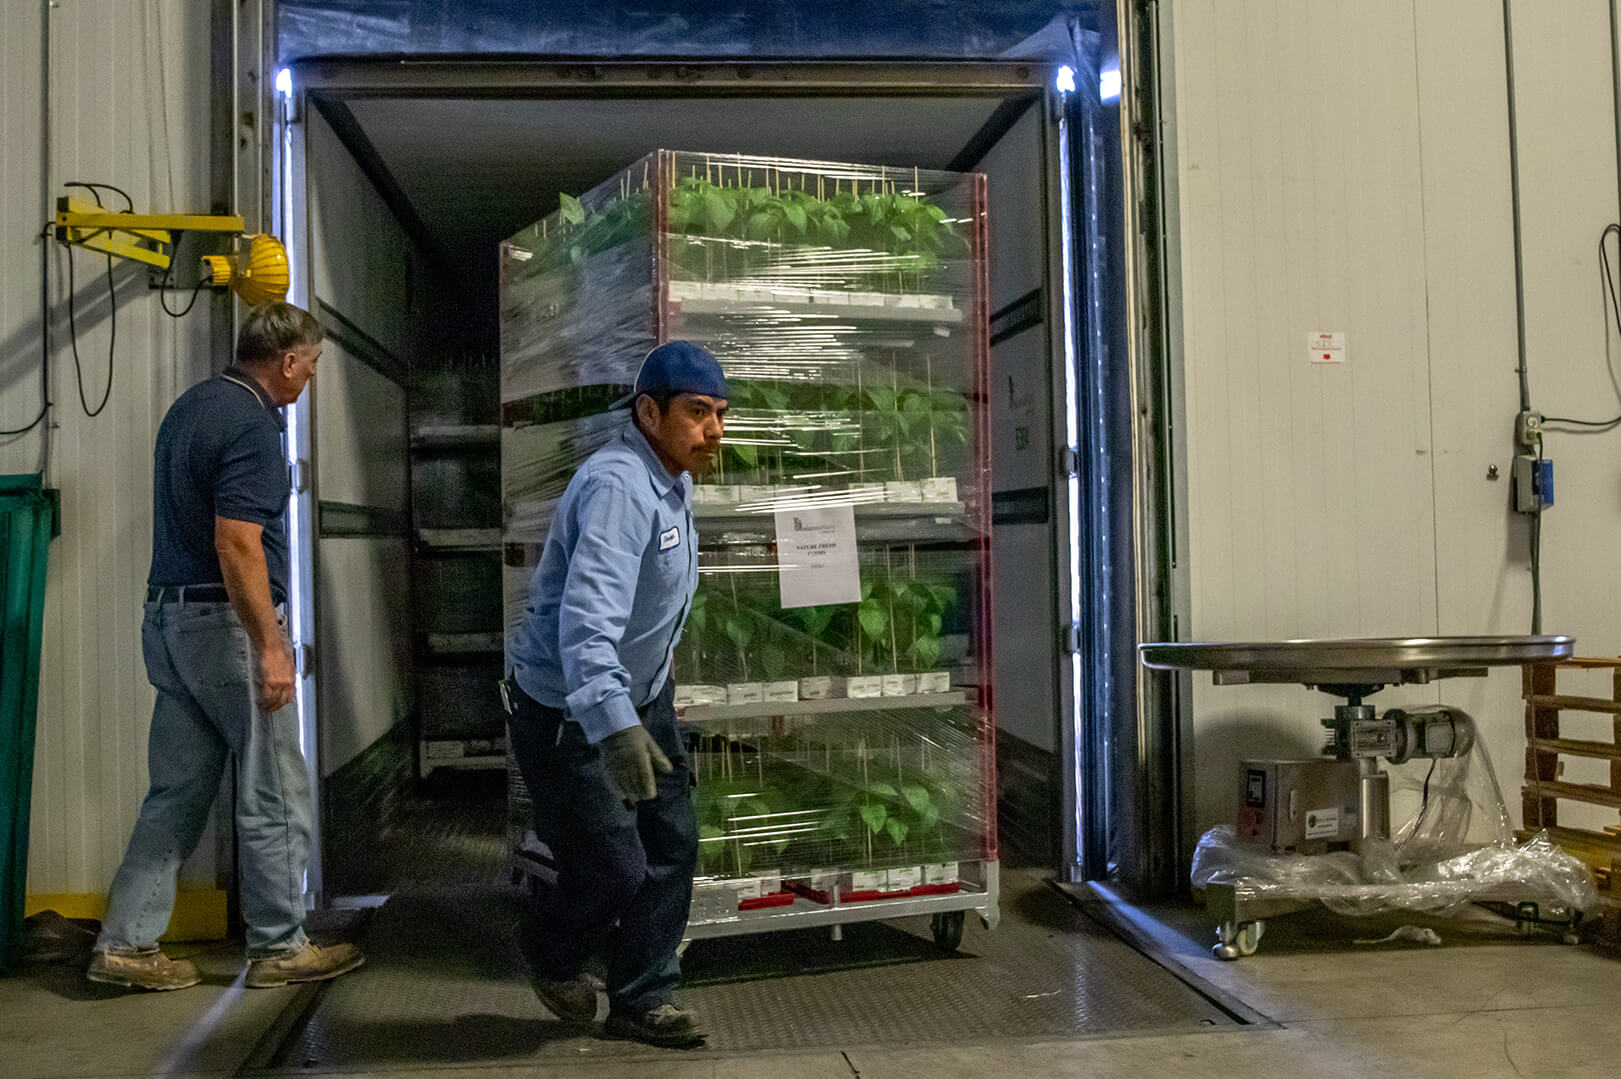
Once the trucks are unloaded, it’s time to perform a few simple tests on our new crops. From each new truck load, a handful of plants are pulled aside by our team for testing.
First, we squeeze some nutrient water out of the growing medium. That water sample is tested to measure electric conductivity and pH levels.
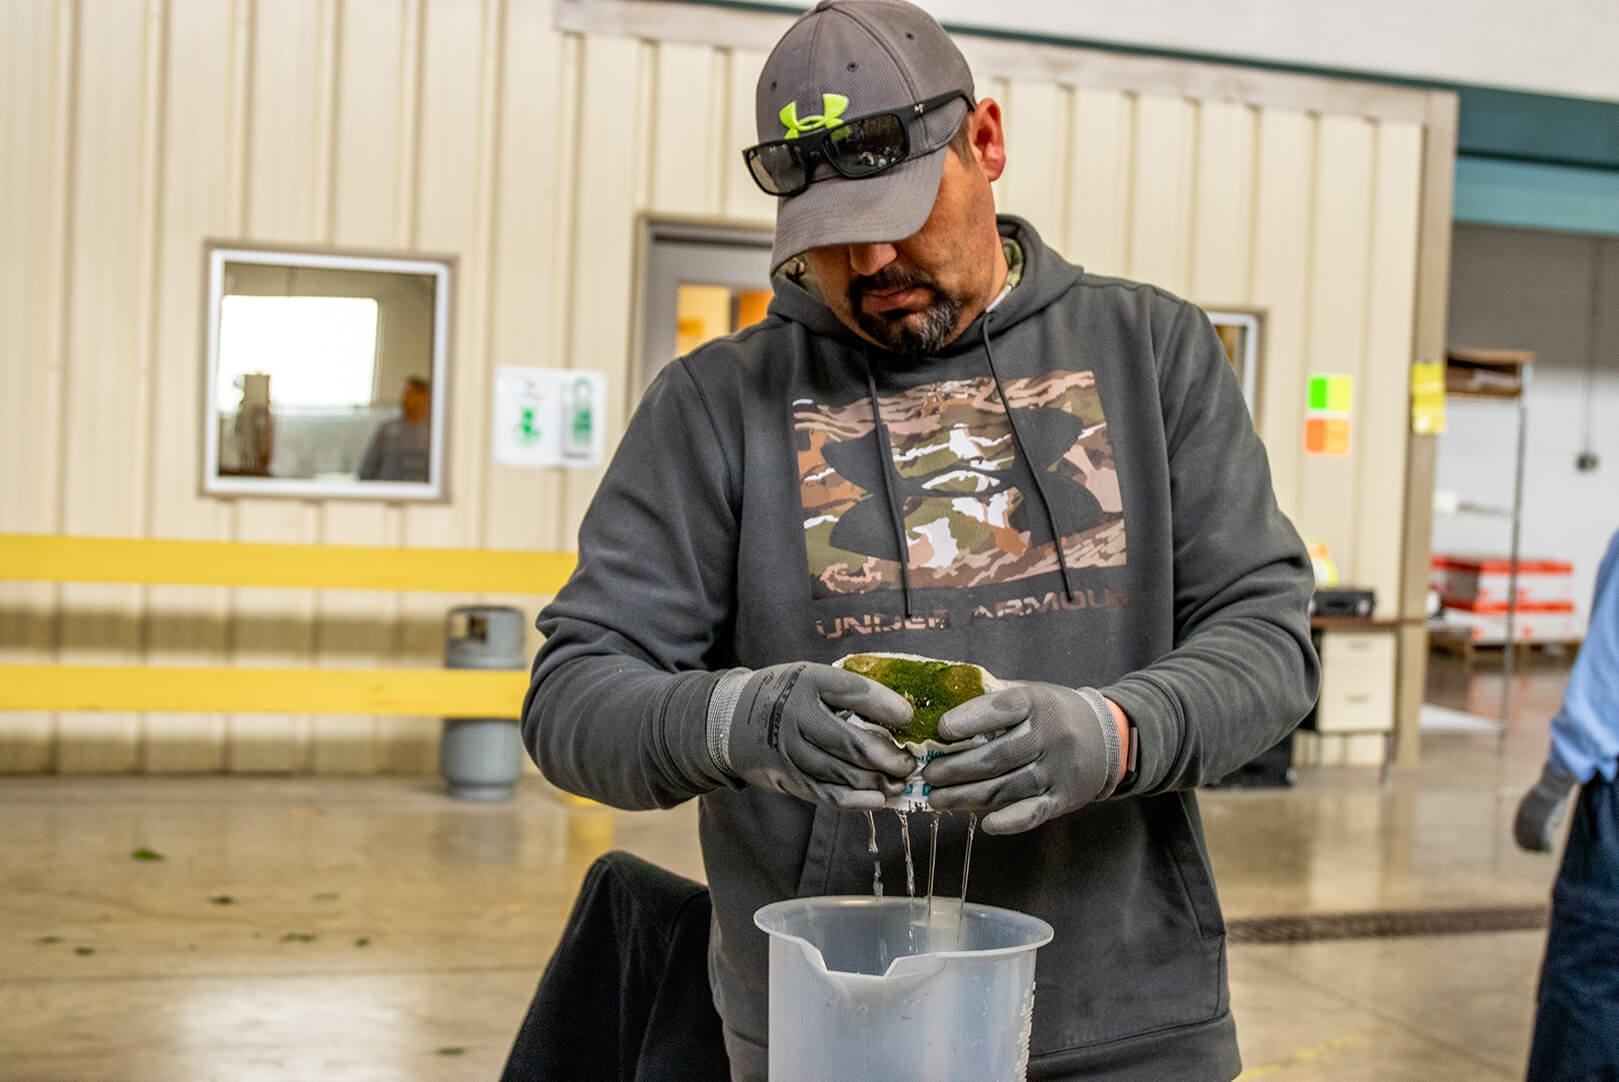
Measuring electric conductivity – more commonly known as EC – shows the strength of the feed that has been given to the plant up until it moved to our facility. Measuring pH levels shows how basic or acidic the nutrient water is – the pH level a Grower wants to see (which is measured on a scale from 1 to 14, with 7 being neutral) is usually between 5 and 5.5 (slightly acidic).
In addition to testing nutrient water samples, our team also counts the number of leaves per split (which means the number of leaves found on each new stem growing out from the main plant stalk) and measures the height of the plant.
When conducting these tests, our team is looking for signs of proper development. We want our new plants to be more advanced in the maturation process – this means that they are setting new leaves and flower buds at the expected rate.
After testing, it’s time to escort our plants into their new home!
Step 4: Transporting into the Greenhouse
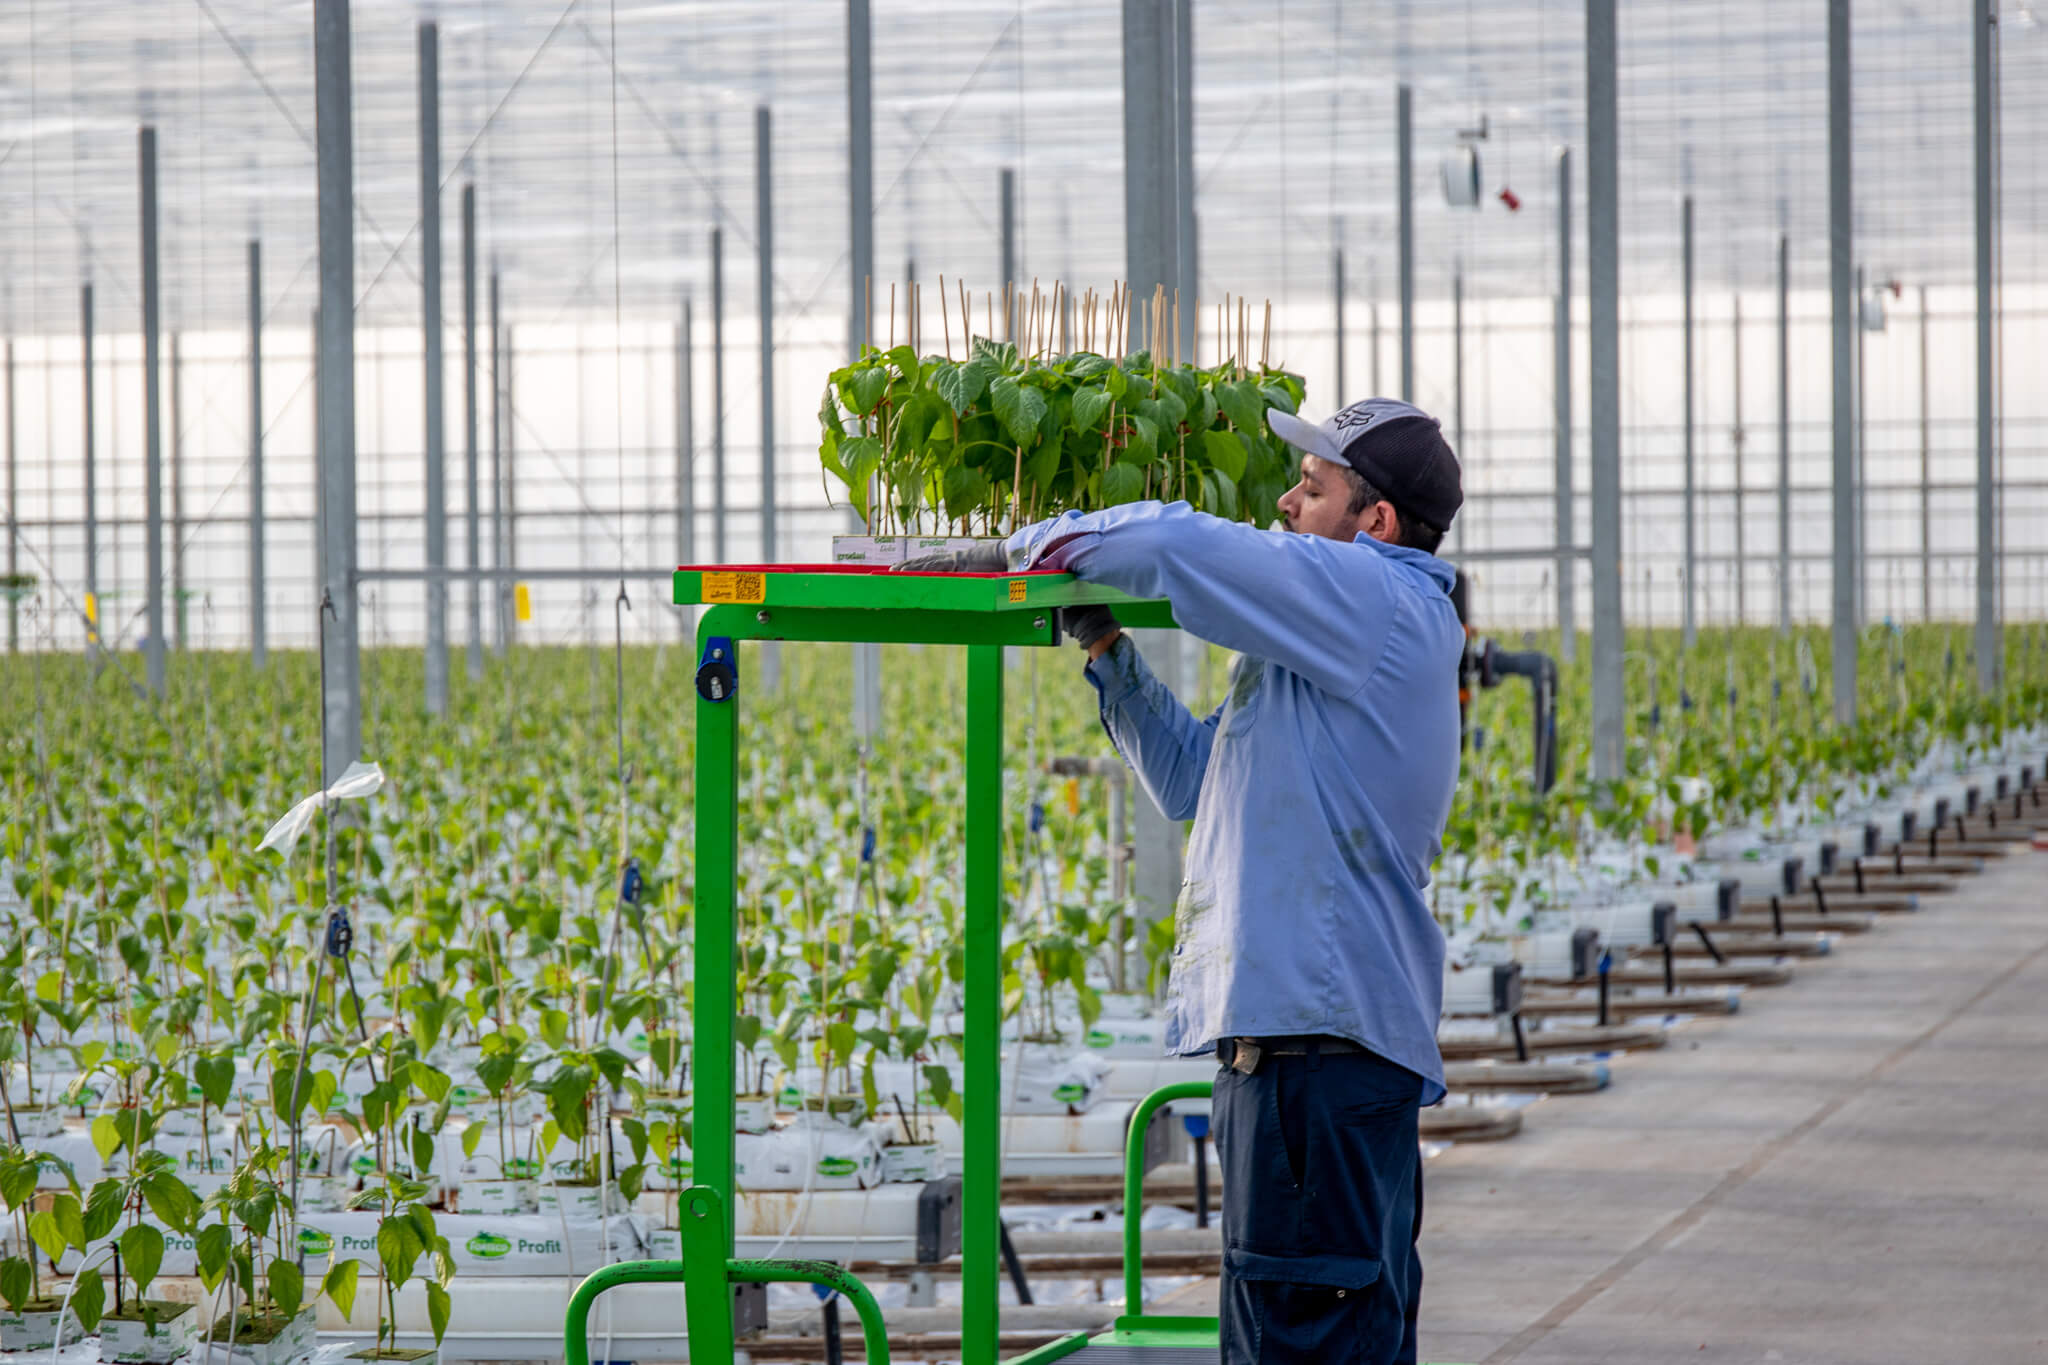
When we get our plants from the propagation facility, the carts they are transported on are pre-labeled – this way, our team knows the plant variety and where it will be located inside our greenhouses.
The Head Grower in each greenhouse directs their team so that all new plants get placed in the correct sections of the greenhouse, which are called bays. A bay is a section of the greenhouse containing 4 to 5 plant gutters and is marked by steel posts along the greenhouse walkways.
Once the plants are brought to their proper sections, it’s time to get planting.
Step 5: Planting
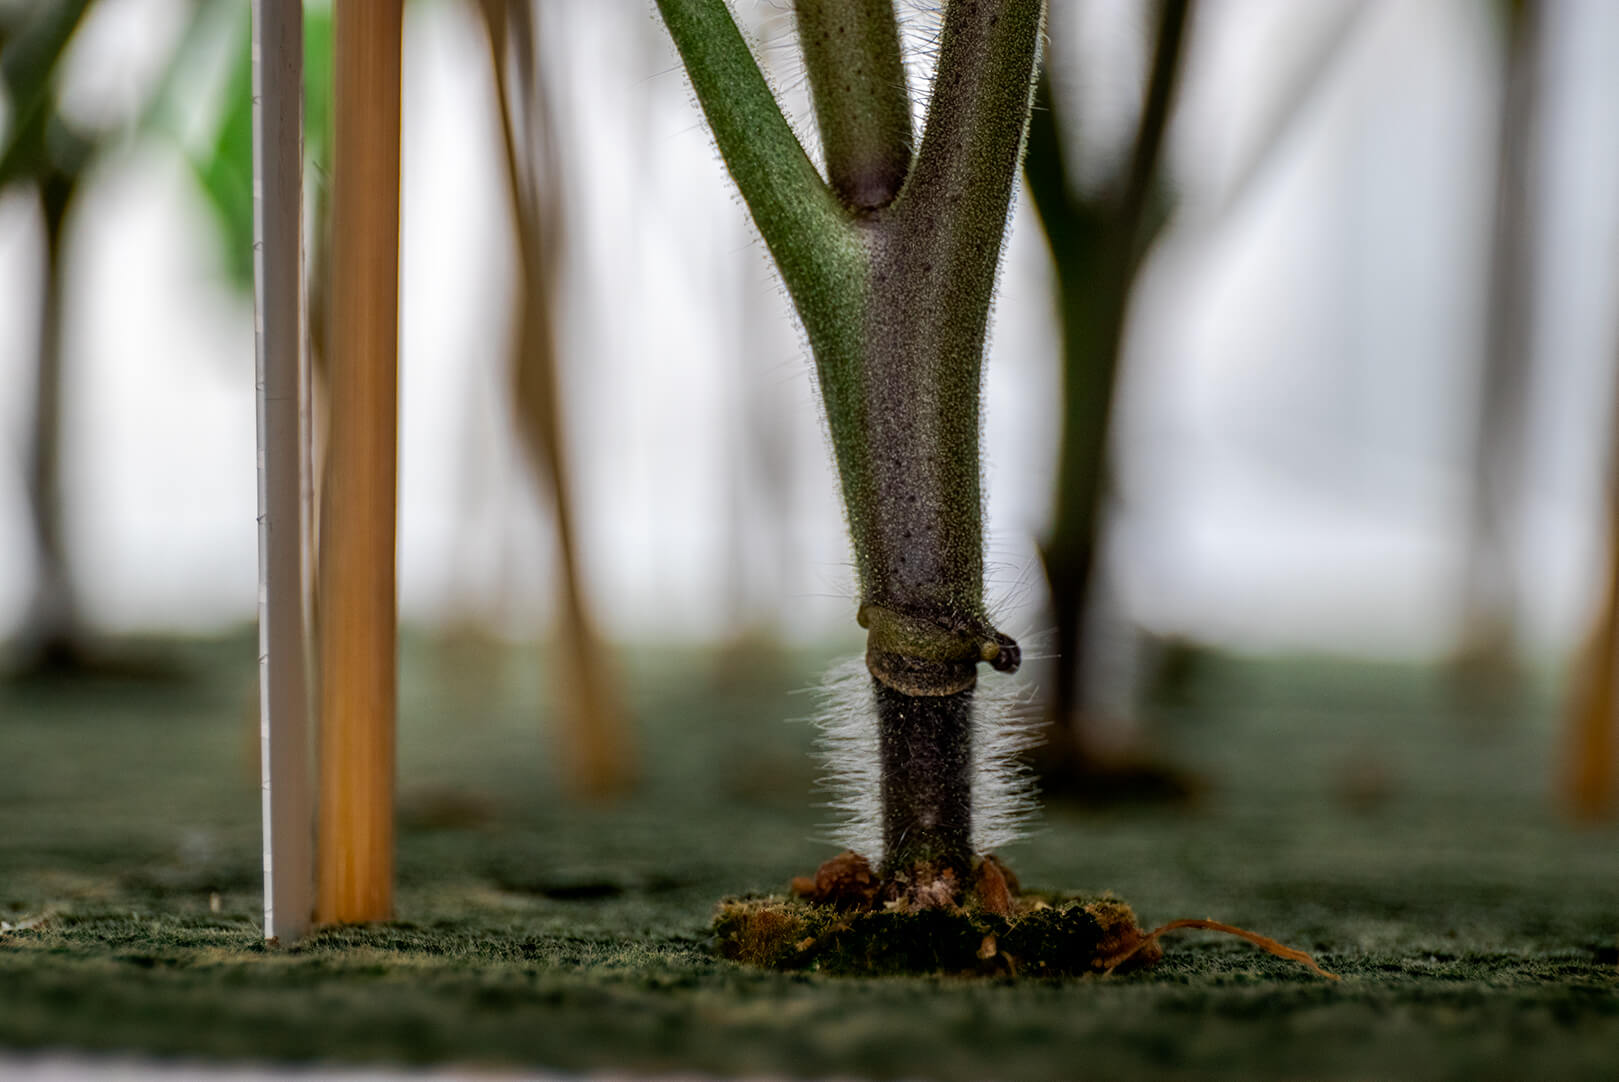
After loading a flat cart with baby plants, Crop Workers will go down every row to start putting each plant in its designated area. One at a time, the plants are placed into the square holes on top of the coco fiber blocks.
Next, Crop Workers need to properly position the nutrient water dripper. Every Grower has a different preference for where the dripper is placed, but most will say they like it in the back corner of the block (but not too close to the edge). You also want to make sure the dripper doesn’t get pushed in too deep or it will go right through the bottom!
Although a Pepper plant only gets one dripper, Tomato plants often get two! This is because, since Tomato plants grow faster than Pepper plants, they require more irrigation throughout the season.
Crop Workers are done planting when every single hole in the coco fiber blocks has been fitted with a baby plant!
Step 6: Stringing
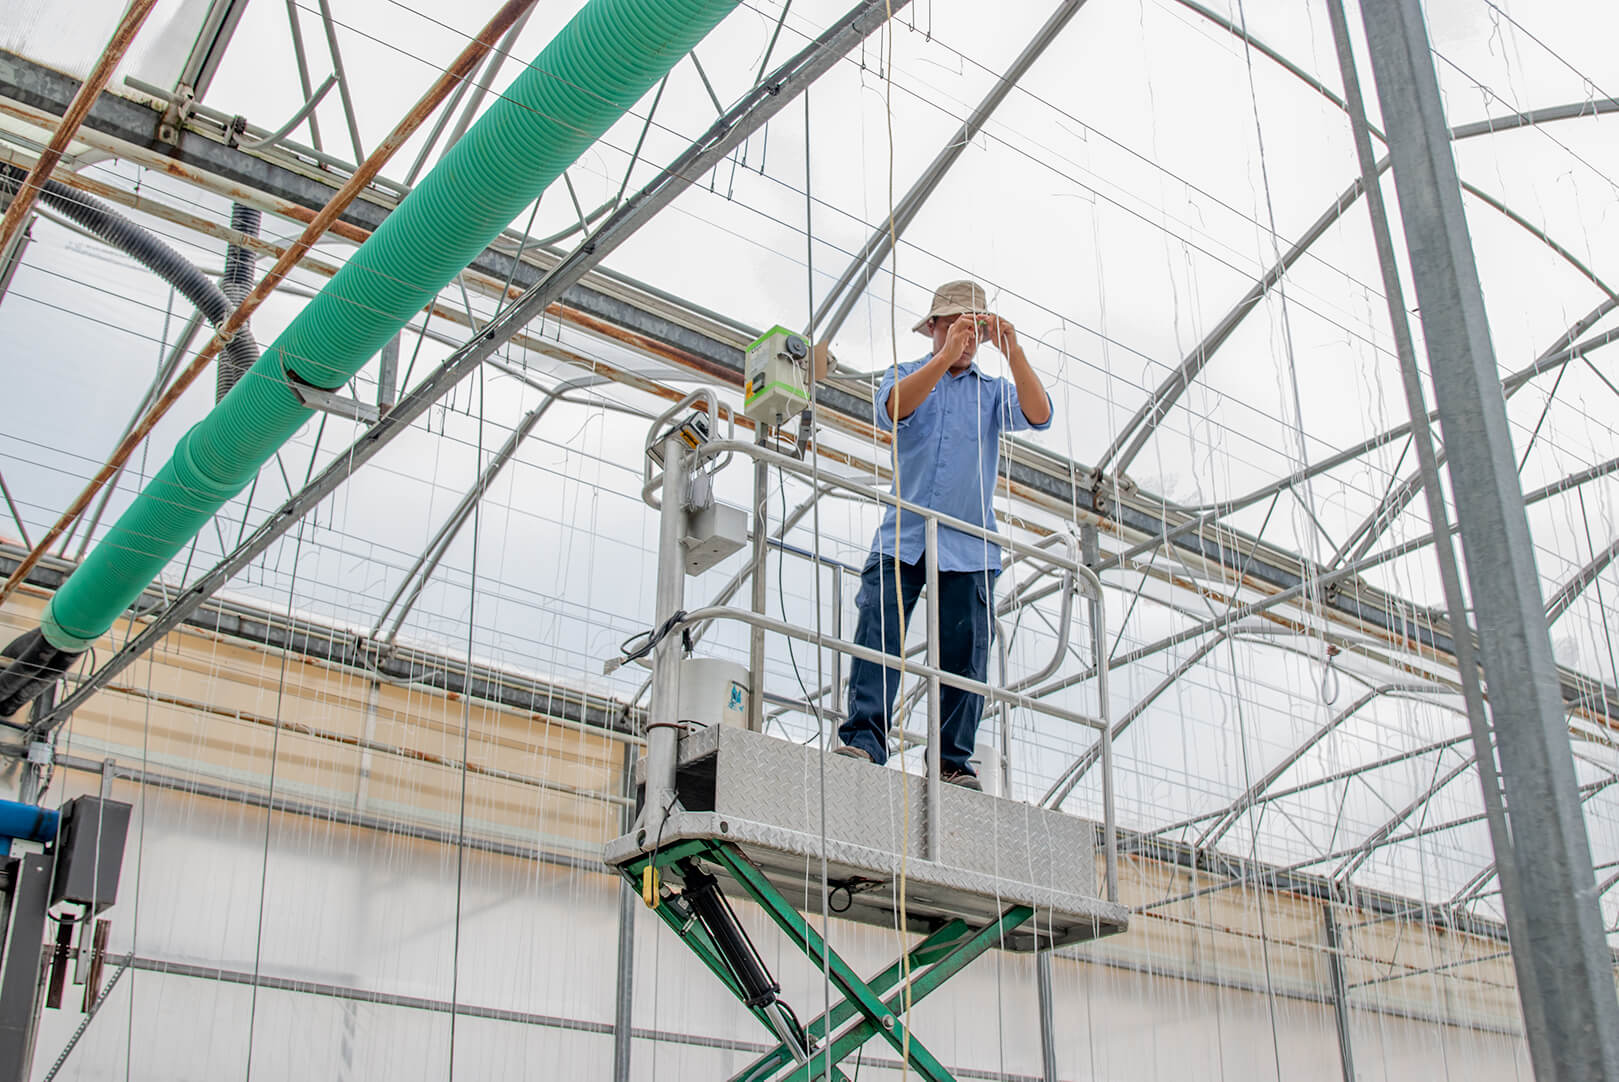
Once planting is complete, stringing begins. Our team uses strings to help support our plants as they grow taller throughout the season. Every plant gets its own string, which is tied to an aircraft cable running across the length of the greenhouse and located about 20 feet above the plants.
As our plants grow taller throughout the season, we wind the strings around the plant stalks to give them the support they need as their stalks become heavier and they begin to bear fruit.
If you don’t think our plants need support as they grow, think again – our Pepper plants can grow up to 15 feet tall, and our Tomato plants can get over 70 feet long!
Once every plant is paired with a string, the planting process is almost complete.
Step 7: Applying Beneficial Bios
About 8 to 10 days after planting has been finished, our team starts applying beneficial bios, or good bugs, to the crop!
These initial bios are only preventative – we apply them to our plants to try and prevent bad bugs or any diseases from harming our fresh new plants.
Some of our favorite beneficial bios can be found on our Bug Brigade page – check them out!
Step 8: Checking our Work
The plants have arrived, they are nestled in their coco fiber, and the strings are strung, but we still need to check our work and make sure everything is perfect before we officially announce the end of planting season.
Our crew scouts every single greenhouse row, checking for signs of improper planting, damaged plants, and strings to tighten. If a team member finds something that needs to be fixed, the issue is resolved and checking continues.
Once the hundreds of thousands of plants have been checked and given the final thumbs up by our team, planting season is officially complete!
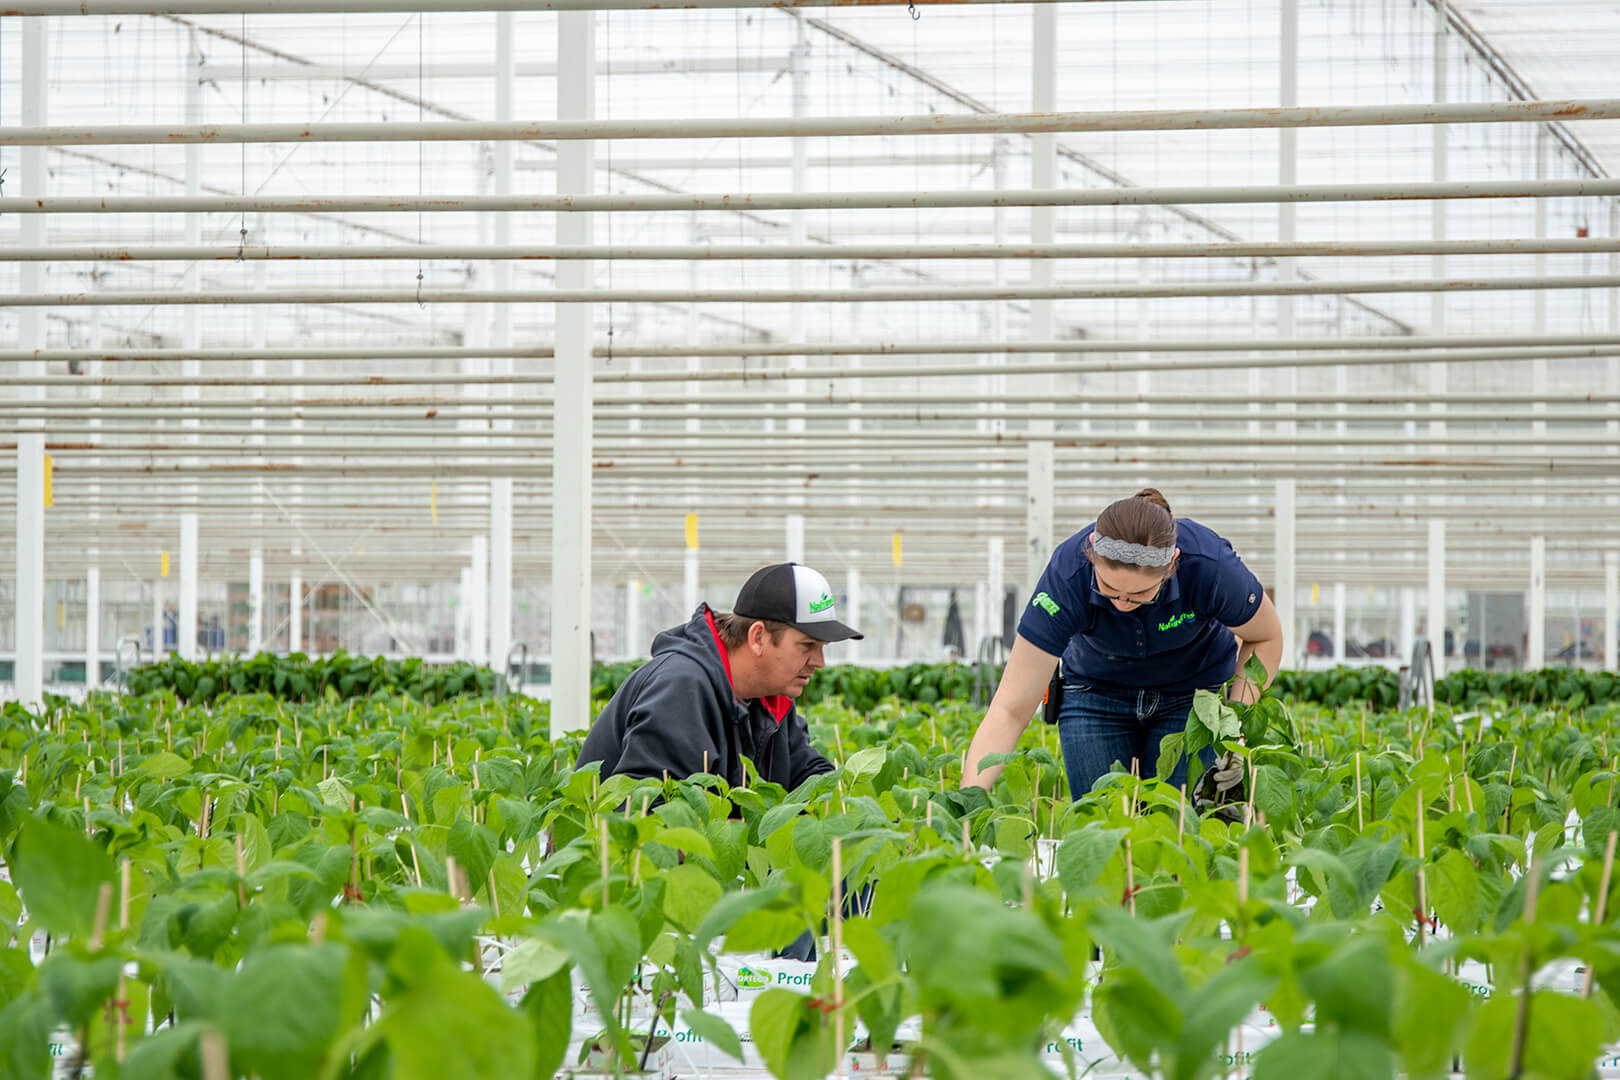
The Sea of Green
The planting process requires a lot of time and energy from our team, but when all is said and done, we have hundreds of thousands of fresh plants to care for! And when our team catches a glimpse of that beautiful sea of green, they can’t help but smile and be proud of their hard work.
To learn more about how we grow at NatureFresh™ Farms, check out our Sustainable Growing page!